Train Horn Dash Air Pressure Gauge: In-Cab Install Guide
How to install an in-cab air pressure gauge for a train horn: choosing the right PSI range, mechanical vs electric, firewall routing, wiring, and leak testing.
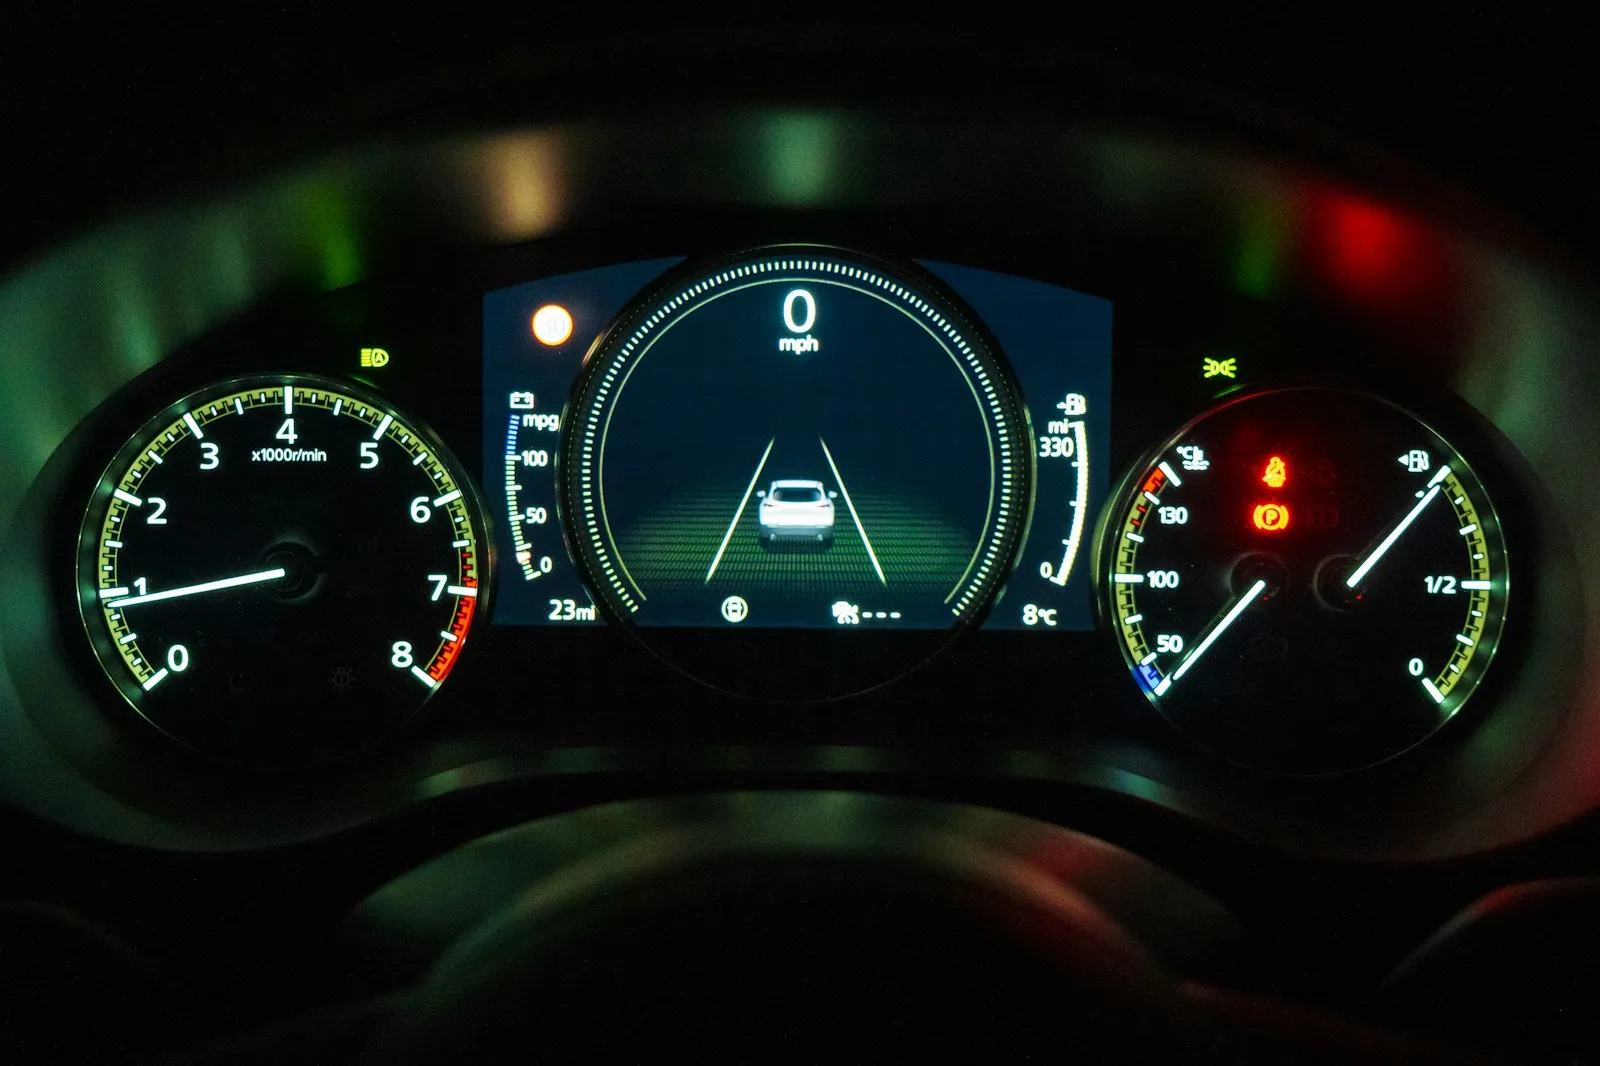
An in-cab air pressure gauge is the cheapest upgrade that makes a train horn system feel finished: one glance at the dash tells you whether the tank is full, whether the compressor is keeping up, and whether a slow leak is bleeding you down overnight. This guide walks through picking the right gauge, tapping into the air system, routing the line through the firewall, and wiring the light and power switch.
Why a Dash Gauge Beats the One on the Tank
A small gauge screwed straight into the tank works on the bench, but once the tank is bolted under the bed or behind a bumper, nobody crawls under the truck to read it. A dash-mounted gauge moves that reading to where you actually sit.
Here is what you gain in day-to-day use:
- You know before you honk whether there is enough air for a long blast or only a short chirp.
- You can watch the compressor cut in and cut out, which confirms your pressure switch is doing its job.
- A needle that drops while the truck sits parked is the earliest warning of a leak.
- Many dash kits add an on/off switch, so you can shut the compressor down from the driver’s seat.
If cut-in and cut-out numbers are still fuzzy, read our pressure switch explainer first. The gauge is how you see the switch working, so the two go hand in hand.
Mechanical vs Electric Gauges
There are two ways to get a pressure reading into the cab, and the choice changes the install.
Mechanical gauges are the classic setup. A small air line runs from the tank all the way to the back of the gauge, and the gauge reads the air directly. VIAIR’s Illuminated Dash Panel Gauge Kits are the best-documented example: the gauge takes a 1/8” (F) NPT compression fitting for 1/4” O.D. air line, and the kit includes a 20 ft lead wire with an inline fuse, a firewall grommet strip, mounting hardware, and a built-in on/off switch.
Electric gauges keep the air outside the cab. A pressure sender threads into a port at the tank and sends a signal to the gauge over wires. Nothing pressurized ever crosses the firewall, which some installers prefer in a daily driver. The trade-off is more wiring and one more electronic part that can fail.
| Mechanical | Electric | |
|---|---|---|
| What crosses the firewall | 1/4” O.D. air line plus light wires | Wires only |
| Install complexity | Lower | Higher (sender, power, ground, signal) |
| Leak points in the cab | One compression fitting | None |
| Typical kits | VIAIR dash panel kits, Kleinn panel gauges | Digital gauge plus sender kits |
For most horn-only setups, a mechanical kit is simpler and has fewer failure points. The rest of this guide follows the mechanical route because it is the one with a published manufacturer procedure.
Picking the Right Gauge Range
This is the step people get wrong most often. Your gauge’s maximum reading must be higher than the highest pressure your system will ever reach. VIAIR’s 150 PSI dash kit manual states that the gauge must not be pressurized above 150 PSI, and that doing so will cause it to malfunction and void the warranty.
Gauge maker Ashcroft’s rule of thumb goes further: the gauge range should be approximately twice the maximum operating pressure. A gauge pinned near the top of its scale wears faster and gives you no headroom for spikes. In practice, you want a clear margin above your pressure switch’s cut-out.
Here are verified options at the time of writing (10/07/2026):
| Gauge | Max reading | Notes |
|---|---|---|
| VIAIR 10061 / 20062 dash kit | 150 PSI | Kit with on/off switch; 10061 for 20 A compressors, 20062 for 30 A |
| VIAIR 20065 / 20066 dash kit | 200 PSI | 30/40 A kit; 20066 is black face, listed at $48.25 at Quadratec |
| VIAIR 90089 | 220 PSI | 2” single needle, illuminated white face, listed at $19.50 at JB Tools |
| VIAIR 90080 | 220 PSI | 2” dual needle, illuminated black face |
| Kleinn 1303 series | 160 PSI | Single needle with illuminated momentary rocker switch and bracket, listed at $59.95 |
How to match them to your system:
- Running a 110/145 PSI pressure switch? A 150 PSI gauge leaves almost no margin, so a 200 or 220 PSI gauge is the safer pick.
- Running a 165/200 PSI switch? Skip every 150 and 160 PSI gauge; even the 200 PSI kit sits at its limit, so a 220 PSI gauge gives you a little more room.
- Not sure what your system actually runs? Our train horn PSI guide breaks down common operating pressures.
One more spec worth knowing: liquid-filled (usually glycerine) gauges damp vibration and needle flutter, and the fill helps protect against internal condensation, according to gauge supplier Brannan. Glycerine is rated for roughly -4°F to 140°F (-20°C to +60°C), so it suits a gauge on a vibrating tank more than one behind a dash that bakes in summer sun.
What You’ll Need
- Dash gauge kit rated above your cut-out pressure
- 1/4” O.D. air line, long enough to reach from tank to dash with slack
- A free 1/8” NPT port on the tank or manifold, or a tee to create one
- Thread sealant for the NPT threads (never on the tube side)
- Drill with a 13/64” bit for the mounting holes
- Tube cutter or razor blade, cable ties, and air line clips
- Soapy water in a spray bottle for leak testing
If your tank ports are already full, a tee at the existing tank gauge or pressure switch port is the usual fix. Our air fittings guide covers NPT versus compression versus push-to-connect so you buy the right adapter the first time.
Step-by-Step Install
This sequence follows VIAIR’s published instructions for its illuminated dash panel kits. Bleed the tank to 0 PSI and disconnect the battery before you start.
- Pick the mounting spot. VIAIR suggests a rigid surface such as the lower edge of the dash on either side of the steering column. Use the gauge panel as a template, mark two holes, and drill them at 13/64”. Don’t mount the gauge yet.
- Attach the air line to the gauge. Remove only the collar of the compression fitting on the back of the gauge. VIAIR warns not to loosen or tighten the fitting body, which is factory installed; turning it can damage the gauge and void the warranty. Slide the line through the collar, push it fully over the barb, and tighten the collar.
- Route the line to the tank. Cut the line square with a tube cutter or razor. Keep it away from sharp edges, tight bends, and heat, and at least 12” from the exhaust. Soaking the end in warm water for about 5 minutes softens it for easier fitting.
- Pass through the firewall. Use an existing grommet if one has room. If you must drill, check what is on the other side first, line the hole with the grommet strip, and seal it so water and fumes stay out of the cab.
- Connect to the air source. Thread the supplied 1/8” (F) NPT compression fitting into the tank port, sealing the NPT threads, then connect the line.
- Wire the on/off switch. On VIAIR kits the switch connects to your pressure switch using the 20 ft lead wire. With the switch off, power to the compressor is shut off. Leave the power wire disconnected until the end.
- Wire the light. Connect the red bulb wire to a fused dash-lighting circuit and the black wire to a solid ground. Check your vehicle’s wiring diagram before tapping anything.
- Mount the gauge and power up. Bolt the gauge to the dash, make sure the switch is off, then connect the fused power wire.
If you are wiring the relay side for the first time, our relay wiring guide shows how pins 30, 85, 86, and 87 connect.
First Fill and Leak Check
Reconnect the battery, flip the switch on, and let the compressor fill the tank. Watch the needle climb and note where it stops. That is your actual cut-out pressure, and it should match the rating on your pressure switch.
Then spray every new joint with soapy water: the tank-end fitting, any tee, and the fitting behind the dash. VIAIR notes that leaks at these joints usually come from a line that was not cut square or not pushed all the way on. Recut and reseat the line, then snug the collar if needed.
Common Mistakes
- Using a gauge rated at or below your cut-out pressure.
- Twisting the factory-set fitting body on the back of the gauge.
- Running the air line past exhaust or through a bare firewall hole with no grommet.
- Reusing a crushed, angled line end instead of trimming a fresh tip.
- Leaving the firewall hole unsealed so water and fumes reach the cab.
- Tapping the light into a random, unfused circuit.
Once it’s in, the gauge becomes a diagnostic tool. A needle that drops a little overnight points to a slow leak; one that never reaches cut-out suggests a tired compressor or a fitting leaking under load. Our leak diagnosis guide picks up from there.
Keep reading
- Train Horn Pressure Switches: Cut-In, Cut-Out & 110/145 vs 165/200
- Train Horn PSI Explained: What Pressure Do You Need?
- Train Horn Air Fittings: Push-to-Connect vs Compression vs NPT
- How to Install a Train Horn: Step-by-Step DIY Guide
- How to Find and Fix Air Leaks in a Train Horn System
Sources
- VIAIR 150 PSI Illuminated Dash Panel Gauge Kit user manual (P/N 10061 / 20062) — kit contents, 1/8” (F) NPT compression fitting for 1/4” O.D. line, 150 PSI limit, amp-draw kit chart, 13/64” holes, 12” exhaust clearance, warm-water tip, firewall grommet, on/off switch and light wiring, soapy-water leak test
- Quadratec: VIAIR Illuminated Dash Panel Gauge Kit, 200 PSI 30/40 Amp, Black Face (20066) — 200 PSI rating, 30/40 A, $48.25 listing, 20 ft fused lead wire, 1/8” (F) NPT fitting
- Quadratec: VIAIR 2” Dual Needle Gauge, Black Face, Illuminated, 220 PSI (90080) — 2” size, dual needle, illuminated, 220 PSI
- JB Tools: VIAIR 2” Single Needle Air Gauge, White Face, Illuminated, 220 PSI (90089) — 2” single needle, 220 PSI, 1/8” NPT compression fitting requirement, $19.50 listing
- Desert Rat: Kleinn 1303B Air Pressure Gauge — 160 PSI single needle panel gauge, illuminated momentary rocker switch, mounting bracket, $59.95 listing
- Ashcroft FAQ: How do you select the pressure range of a gauge? — gauge range should be about twice the maximum operating pressure
- Brannan: Filled pressure gauges — glycerine fill damps vibration and pulsation, protects against condensation; -20°C to +60°C range
Frequently asked questions
Quick answers to the questions people ask most about this topic.
- What PSI gauge do I need for my train horn tank?
- Pick a gauge whose maximum reading is clearly above your pressure switch's cut-out. Gauge maker Ashcroft recommends a range about twice the maximum operating pressure, so a 150 PSI system is better served by a 200 or 220 PSI gauge than a 150 PSI one.
- Can I run an air line into the cab for a dash gauge?
- Yes. Mechanical dash kits like VIAIR's run a 1/4-inch O.D. air line from the tank to the gauge through a grommeted, sealed firewall hole. If you'd rather keep pressurized air out of the cab, an electric gauge with a tank-mounted sender only passes wires through the firewall.
- Where do I tap air for an in-cab pressure gauge?
- VIAIR's instructions name the air tank as the typical air source, connected through a 1/8-inch NPT port. If every tank port is already used, add a tee at an existing port such as the tank gauge or pressure switch port.
- What does the on/off switch on a VIAIR dash gauge do?
- On VIAIR kits it is wired to your pressure switch through the kit's lead wire, and it lets you shut off power to the air compressor from the driver's seat when you don't need it running.
- Why is my dash air gauge fitting leaking?
- VIAIR notes that leaks at these joints usually mean the air line was not cut square or was not pushed fully onto the fitting. Trim a fresh square end and reseat it, and never twist the factory-set fitting body on the back of the gauge.
Related reviews & guides

Real Locomotive Horn Truck Install: Air Supply, Valve & Line Sizing

Train Horn on a Tesla or EV: Frunk Install, 12V & Amp Limits

Air Pressure Regulators for Train Horns: Do You Need One?

Stealth Train Horn Install: Hiding Horns, Tank & Compressor

Train Horn Amp Draw, Fuse Size & Wire Gauge: Sizing Guide